Genetics sometimes have a cruel sense of humor. My mother has beautifully curly hair. My father hair’s has a soft, elegant wave to it. Me? I was born with stick straight hair that hangs limp and flat most days.
It just doesn’t seem fair.
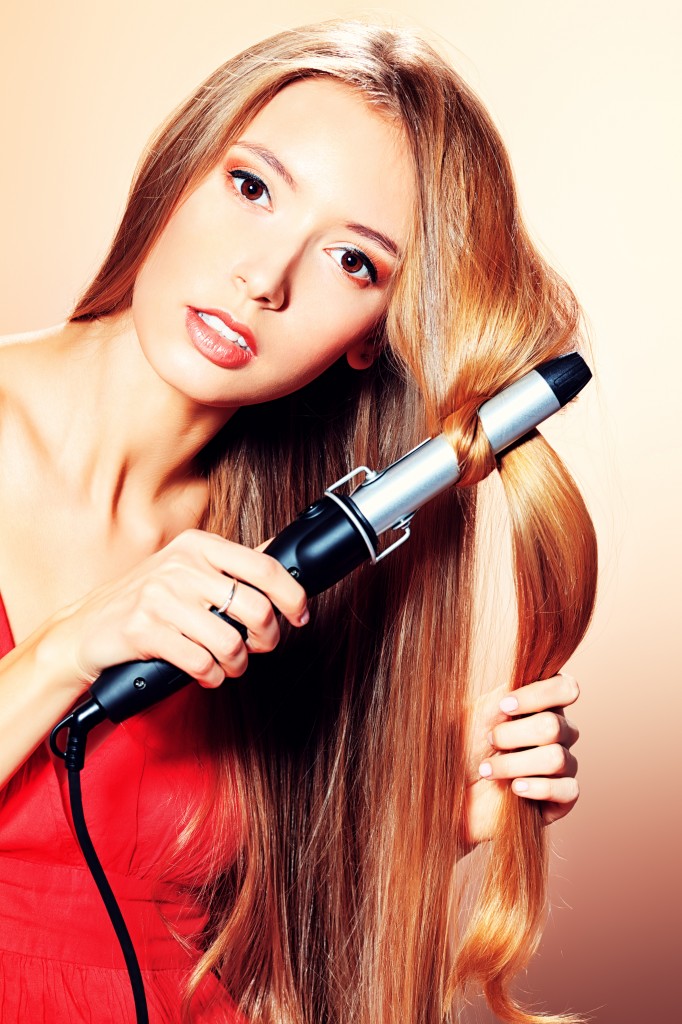
That’s why I’ve spent most of my life struggling to give my locks some texture. I’ve done perms and body waves, neither of which were very flattering – and I’ve realized that a curling iron is my best bet. It allows me to go back and forth between straight and curly locks whenever the mood strikes, and I appreciate that kind of versatility.
But using a curling iron can be a little tricky when you’re starting out — I’ve wound up with out of control poodle-looking curls enough times to know exactly how tricky it can be.
Over the years, though, I’ve learned enough – and made enough mistakes — to help take some of the mystery out of curling my hair. So if you’ve been struggling with your curling iron, here are some tips and tricks that are guaranteed to have you curling your hair like a pro in no time.
Start with the Right Iron
Having the right tools always makes a difference. Make sure to choose the right curling iron for your hair. Start by figuring out what size barrel to get. If you want loose, romantic curls, go with a large barrel curling iron – try one that’s 1- to 2-inches in diameter. For small, tight curls, choose a small barrel iron that’s ¾- to 1-inch in diameter.
Next, consider your curling iron’s material. Ceramic and tourmaline irons are the healthiest for your locks because they distribute heat more evenly across your tresses. They can also help reduce frizz. Titanium and gold irons also disperse heat evenly, but they aren’t as effective in calming frizz. Chrome irons are typically the most inexpensive, but they don’t distribute heat evenly, don’t calm frizz and can damage fine, thin hair.
Get Heat Right
You may be tempted to turn your curling iron up to the highest heat setting to lock your curls in place, but using too much heat on your locks can damage them, causing dryness, frizziness and split ends. The trick is to use the lowest heat setting possible to effectively curl your hair. Fine, thin or color-treated should use a low setting to avoid damaging the fragile locks. If you have thick, coarse hair, you’ll probably need a higher setting to curl it. The medium setting, which is usually between 200 and 300 degrees, works well. No matter what type of hair you have, though, never set your curling iron above 400 degrees or you can do serious damage to your locks.
Prepare Your Hair
While your hair can look great after you curl it, you’ll wind up with ugly-looking damage the next day if you don’t prepare your locks properly before heat styling. Make sure your hair is completely dry before your pick up your curling iron — but don’t forget to apply a heat protectant before your curl. Keranique’s Amplifying Lifting Spay doubles as a thermal heat protectant. Look that that—double duty.
Get Loose Curls
If your goal is loose, flowing curls, wrap your hair around the barrel of the curling iron in a spiral, starting at the roots. Angle the iron so it’s pointing down toward the floor and let your hair sit on the barrel for 10 to 20 seconds depending on how thick your hair is. Carefully release the curl and immediately spray it with a flexible hold hairspray Let the curls cool completely and then gently work your fingers through to loosen them for a soft, wavy look.
Get Tight Curls
For tight, ringlet curls, you should roll your hair around the barrel of the curling iron. With an iron that features a clamp, start at the ends and roll toward the roots. If you’re using a clamp-less iron, start at the roots and roll to the ends. Allow the hair to sit on the iron for 10 to 20 seconds depending on your hair’s thickness. Once your entire head is curled, allow the ringlets to cool and spray with a firm hold hairspray. Use your fingers to gently comb your curls into place but don’t separate them too much or they may lose their shape.
To learn more, visit Keranique, on Amazon.


